Woodburning Calligraphy Tips
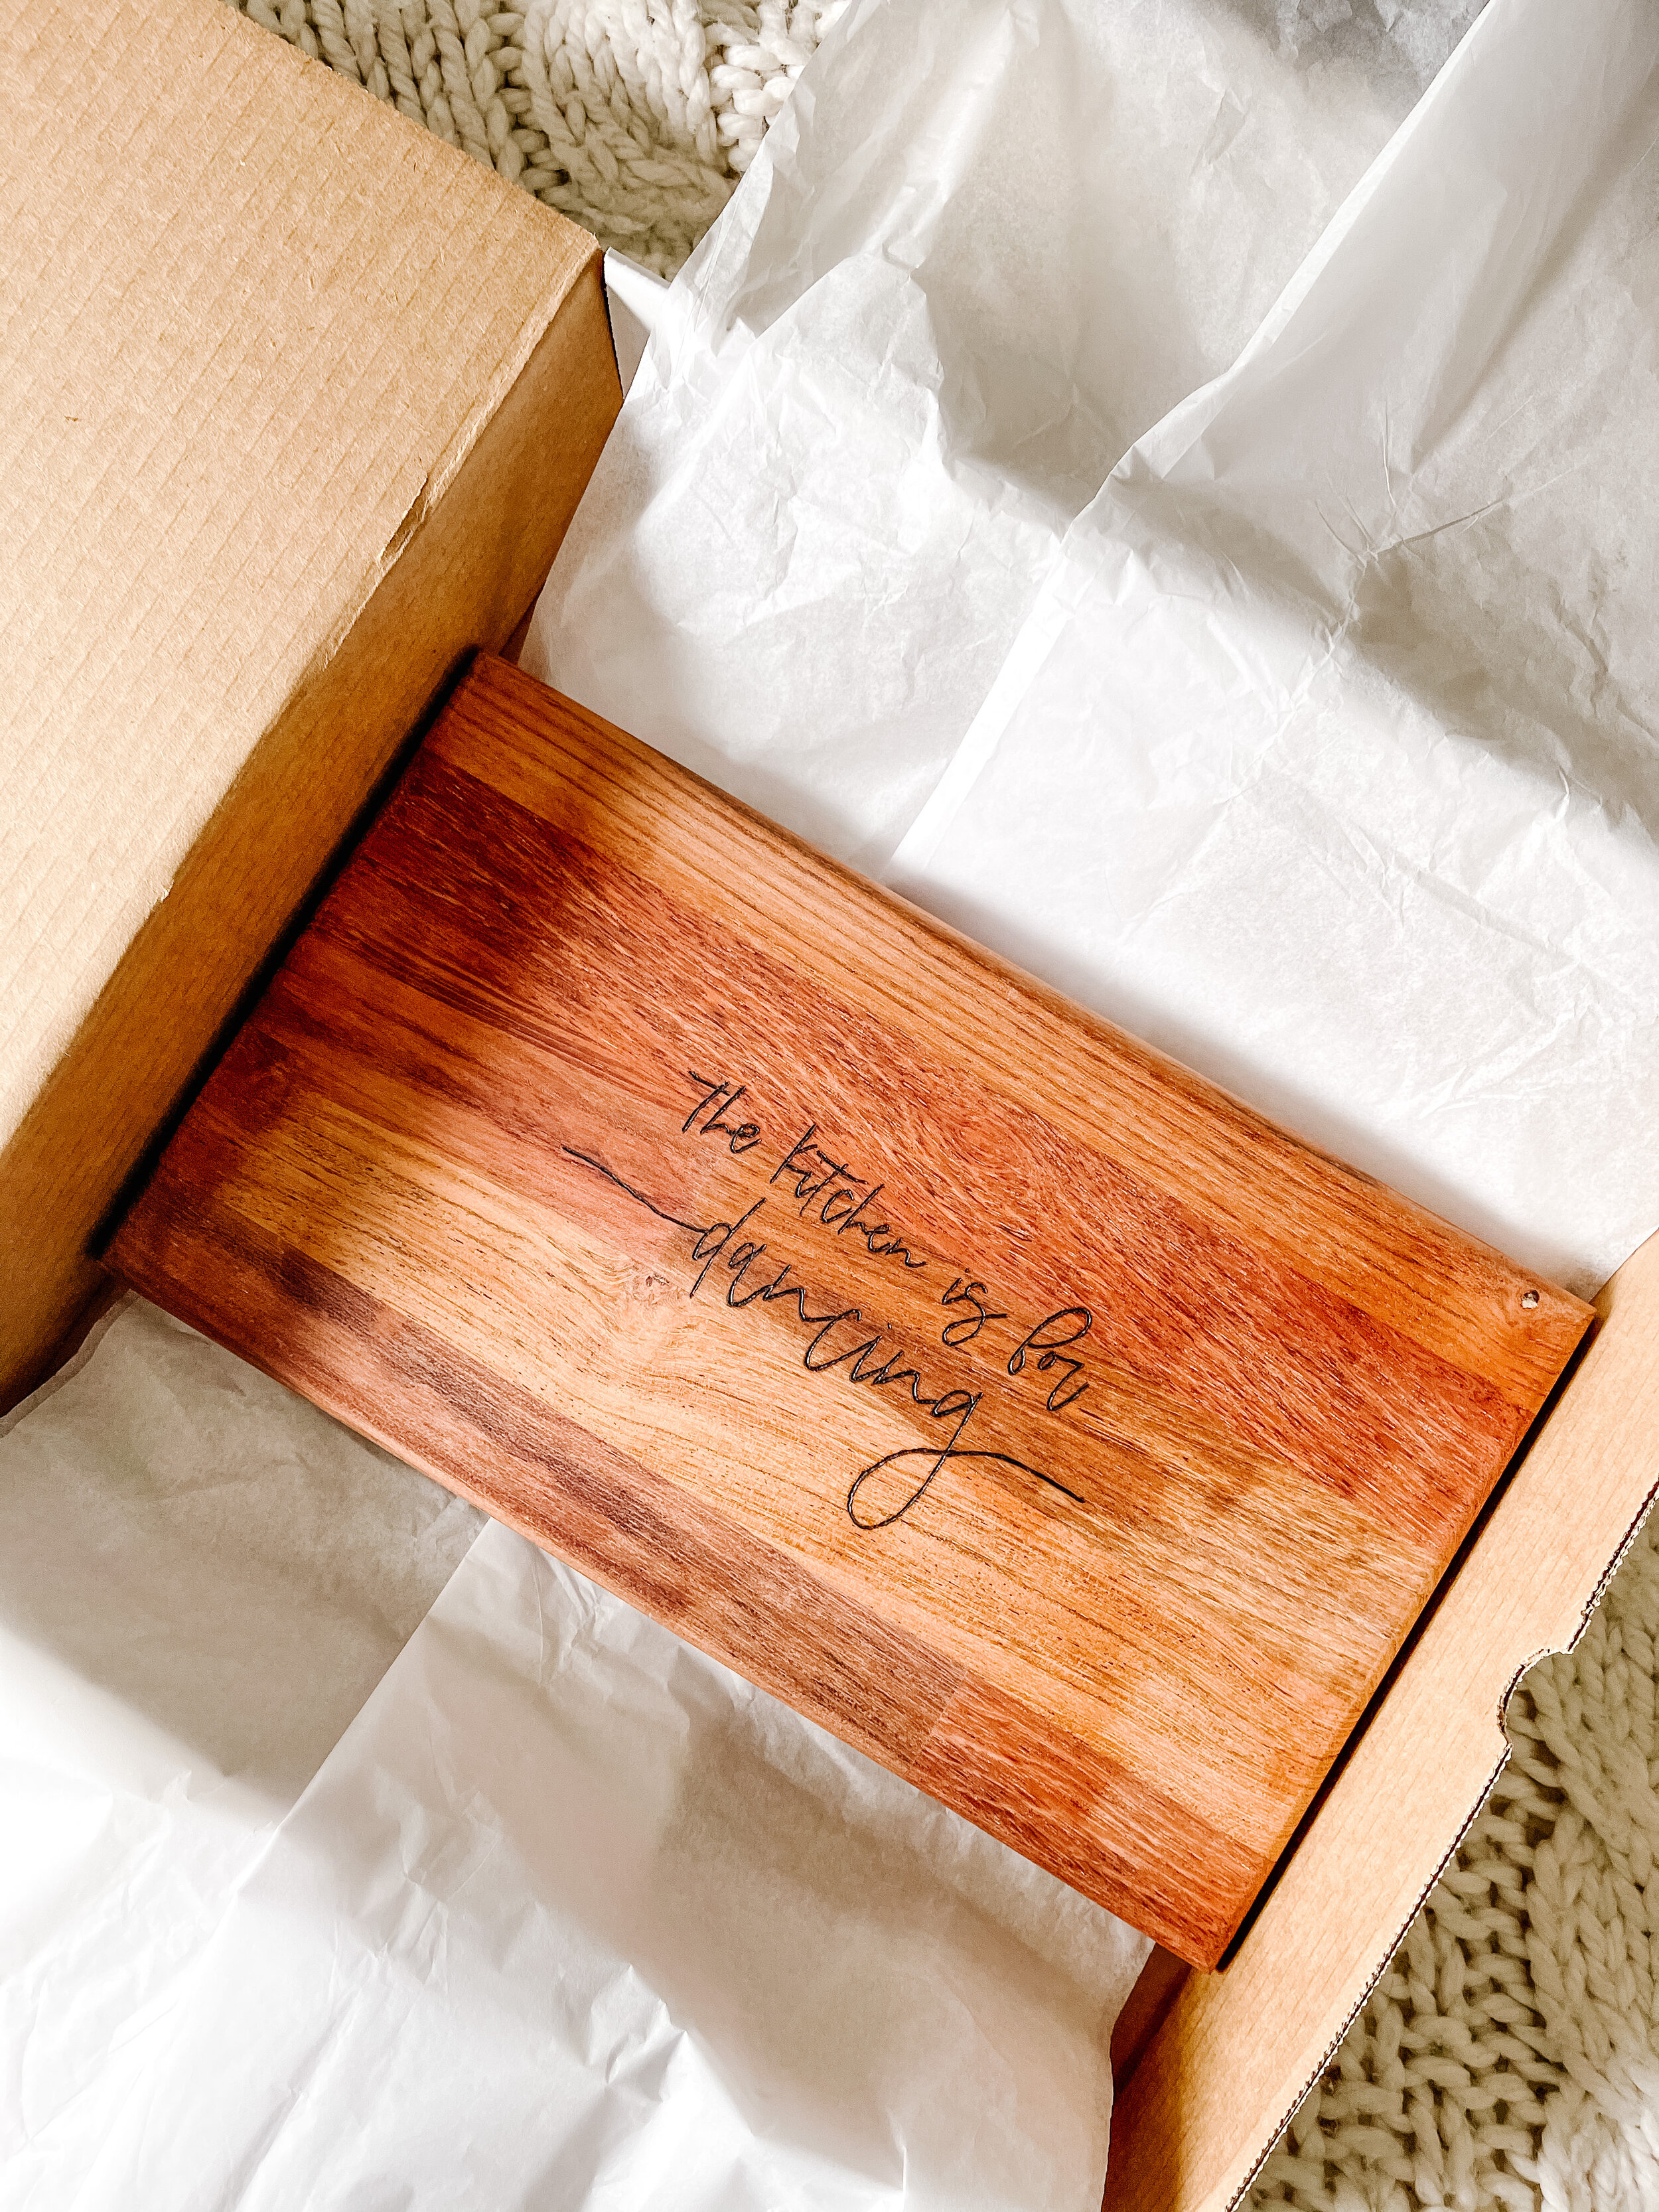
So many of you over on Instagram have asked me for tutorials so I’ve decided to start with our top seller - Woodburnt Cheeseboards. I have posted a time-lapse of the making of the below cheese board over on Instagram Reels but BEWARE: There are a lot of twists and turns and it’s not for the weak of stomachs. (You might get a little dizzy!) See below for all of my TIPS and TRICKS on how to burn the perfect calligraphy cheeseboard every time as well as my FAVORITE woodburning products and resources linked. 🔥
A Few things to Note before you begin:
SAFETY FIRST: You WILL be woodburning in your home. It’s exactly what it says it is (wood burning) and you DO NOT want be inhaling all of those fumes while you work. It’s always best to purchase protection. I have linked my mask that I wear while woodburning here. (TRUST ME YA’LL: learn from my mistakes on this one. Your throat will hurt when you wake up the next day if you do not caution to the side of safety first)
Some of the cheaper woodburning tools will get HOT to the touch while you work with them. Make sure you’ve got some leather gloves or something if you are planning on working with them longer than 20 mins. (The tool linked below is a great tool simply for the fact that the handheld part does NOT heat up - just the wires do!)
STEP ONE: Wipe your cheeseboard off with a wet paper towel. We want to ensure that ALL dust particles and residue have been removed from the cheeseboard.
STEP TWO: Sketch out your design or words using a pencil or chalk. I typically like to use a pencil because the placement and thinness of my lines are SUPER important.
STEP THREE: It’s time to heat up your woodburning tool. Make sure you have invested in a WIRE tip woodburner. Trust me on this, it’ll save you LOTS of time and your tool will not get HOT in your hands. It also makes precision SO MUCH EASIER. (The woodburner I use is linked below!)
STEP FOUR: Take your time burning over your predawn lines. Turn your board if you have to! Feel free to use the woodburning tool in whatever fashion brings you the most precise design. (i.e. I personally use my woodburner to “stamp” around the edges of letters like “e” and “o” or any curves. I’ll drag in a straight line on the longer parts)
STEP FIVE: Once your design is complete, wipe it down with a wet paper towel once more to remove any “ash” or residue that was collected during the burning portion. Sometimes I seal off with a light oil as well just to put a finishing touch to the design. I typically use goo-gone - LINKED HERE for you.
….and WAH-LAH - you have yourself a COMPLETED woodburnt cheeseboard. GREAT NEWS: your artwork is PERMANENT - meaning you can wash your cheeseboard and not ever worry about losing your art.
MY FAVORITE WOODBURNING TOOLS AND RESOURCES:
CLICK HERE to purchase my woodburning tool. The kit comes with several different wire tips. The “Drawing Point” is my Absolute FAVORITE tip.
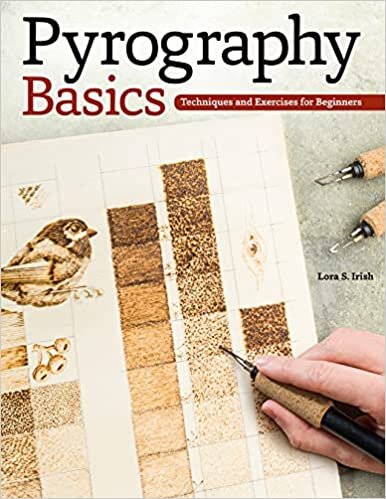
CLICK HERE for the beginner book I purchased for tips and tricks when i first began. It helped tremedously as there are so many unique ways to use a woodburning tool for different looks and effects.


